
I have recently purchased this handy little M-lens coding template from Bo Lorentzen, as I was curious to see whether I’d be able to hand-code my M-Rokkor 28/2.8 (and eventual future lenses), and if it would make a difference at all (apart from the focal length being included in the EXIF-Data). We all know that hand-coding a lens is merely a temporal solution, except if you’re so brave as to actually drill pits into your lens mount, so the paint (or whatever you use) won’t rub off during lens changes. Bo’s coding template, too, is only a temporal solution, as it is made from cardboard and thus easily prone to damage. Still, for trying it out once, and maybe for hand-coding a limited number of lenses at one time, it’ll do.
There are two problems with this particular lens, though. For one thing, the lens has a screw exactly where the code needs to be applied (naturally). This might cause problems with the readibility of the code, so I decided to attach a small, white adhesive label to the lens mount, and write the code onto the label. Not only is black-on-white more contrasty than black-on-silver, but also would the screw be covered this way. Secondly, the lens calls up the 35mm framelines on an M body. This is because it was designed for the Minolta CLE, which was based on the Leica CL, which had no 28mm framelines. In order to bring up the 28mm framelines, you have to twist it a bit further into the mount, but this will cause the coding marks to be offset from the code reader in the mount. You can of course work around this by applying the code to a different position on the lens mount, but this is a bit more complicated, as you’ve got to be quite exact or the code reader won’t recognize the code. For this reason, Bo’s template has a small elevation at the same position where the lens locks into place on the mount, to help you align the template exactly to the position where the codes need to be applied. But as I didn’t want to have to press down the frameline selection lever everytime I’d be using the lens, here’s what I did.

The coding template, the lens (note the pit in the mount @ ~7:30) and the white stickers I used
First, I used a pencil to apply a little mark at the outside of the mount at the exact position where the code reader is located. Then, I attached the lens and twisted it into the right position for calling up the 28mm framelines. Now all I had to do was remember with which position on the lens the mark on the mount coincided, and align the coding pits of the coding template with that exact position. In theory, I should then be able to apply the code to the correct position on the lens mount, so that the coder would recognize it when the lens was twisted to bring up the 28mm framelines.
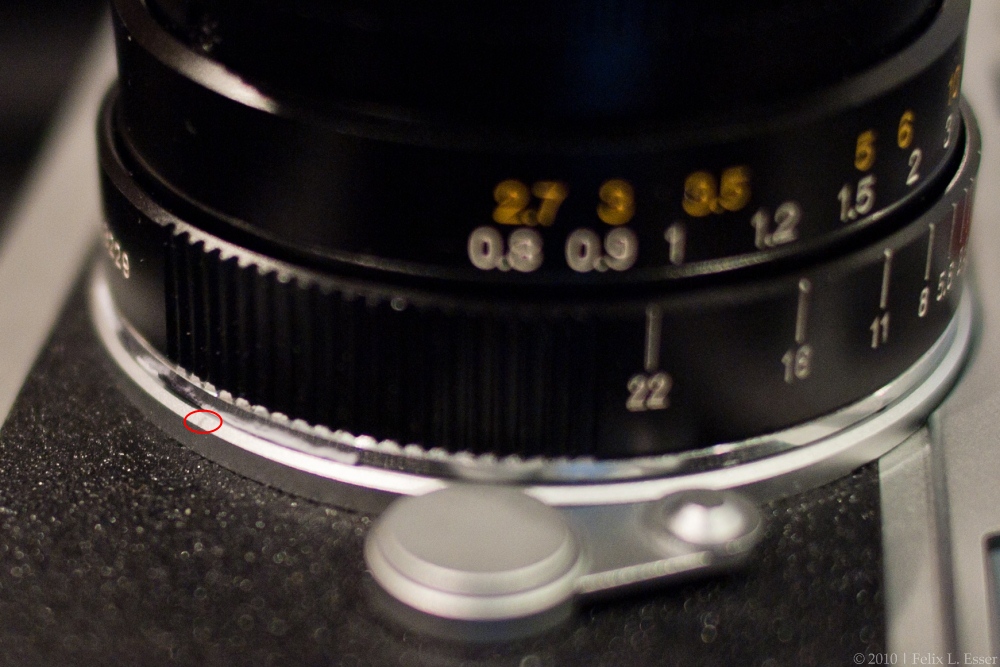
I applied a small mark on the mount where the code reader is located
Of course, my first attempt went wrong and the coder didn’t recognize the code. As I said before, the coding template has that elevation that fits into the groove in the lens mount that locks the lens into place on the camera, to help you apply the code at the correct position. As I had to turn the coder a few degrees to get the coding pits into the intended position, things became imprecise, and I probably misaligned the code just enough to cause it to be unrecognizable by the code reader.
So I decided to apply the code at the “normal” position on the lens mount, and this time it worked. Problem was, though, everytime I used the lens, I had to press the frameline preview lever to get the 28mm framelines for composition. That sucked! Also, I had coded it as a 28 Elmarit ASPH., which overdid the corrections a bit to my taste. So I decided to try and code it again, this time as a 4th version 28 Elmarit (pre-ASPH), and at the modified position where the lens would bring up the 28mm framelines. I had to be very careful now, because I knew that offsetting the code only by a millimeter or so would make it unreadable. But — I was successful! I aligned the template to the correct position, applied the correct code for the 4th version pre-ASPH Elmar 28mm, attached the lens to the camera, twisted it a few degrees to bring up the 28mm framelines, and — it worked! The EXIF-Data said “28mm”, and the camera would correct for cyan colour drift and vignetting in the corners. Yay! 
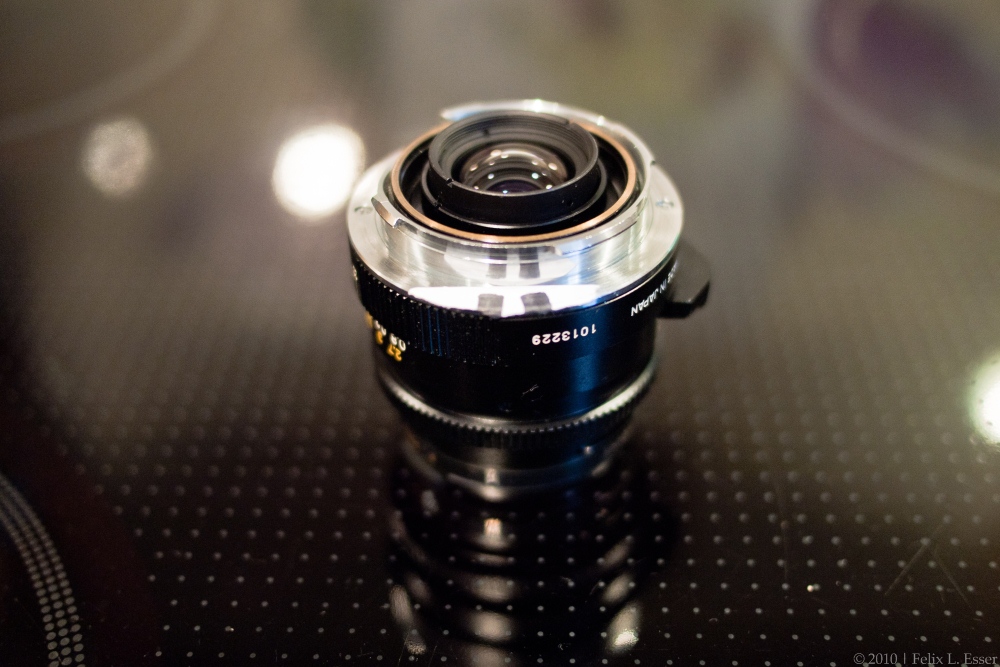
The M-Rokkor 28/2.8, successfully coded as a 4th version pre-ASPH Elmarit 28mm (011011)
So I did a little test to see how grave the difference between an uncoded and a coded lens would be, and took three consecutive shots of a white wall: once with lens detection turned off, once turned on, and once turned on + UV/IR filter correction. The resulting pictures were run through Lightroom 3.2, but all I did to them was applying the same white balance to each picture, so they would be comparable. Here they are:
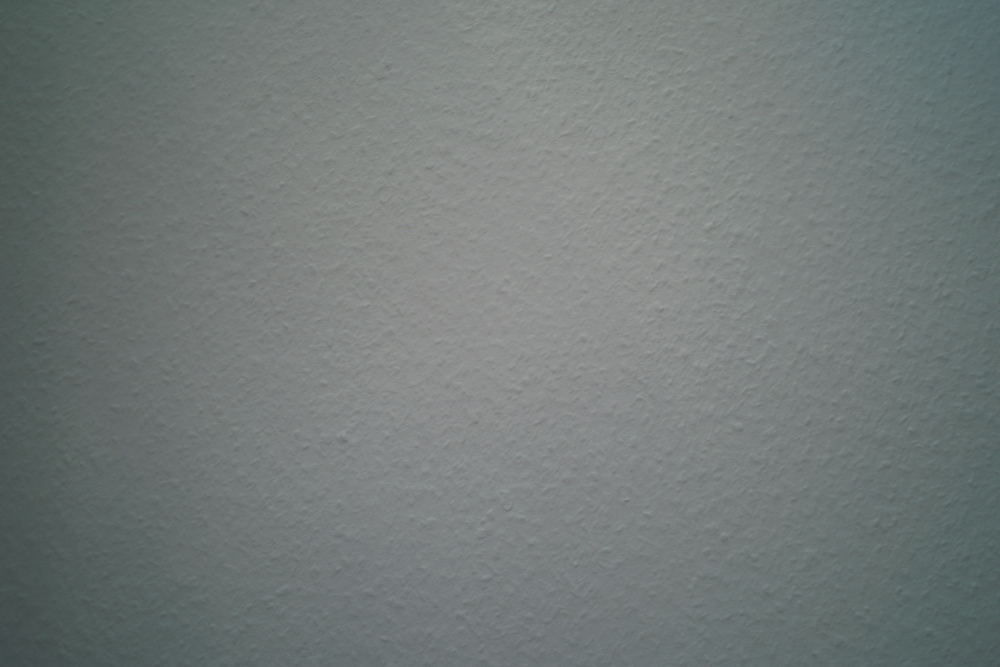
Leica M8 + M-Rokkor 28/2.8 @ f/2.8, lens recognition turned off
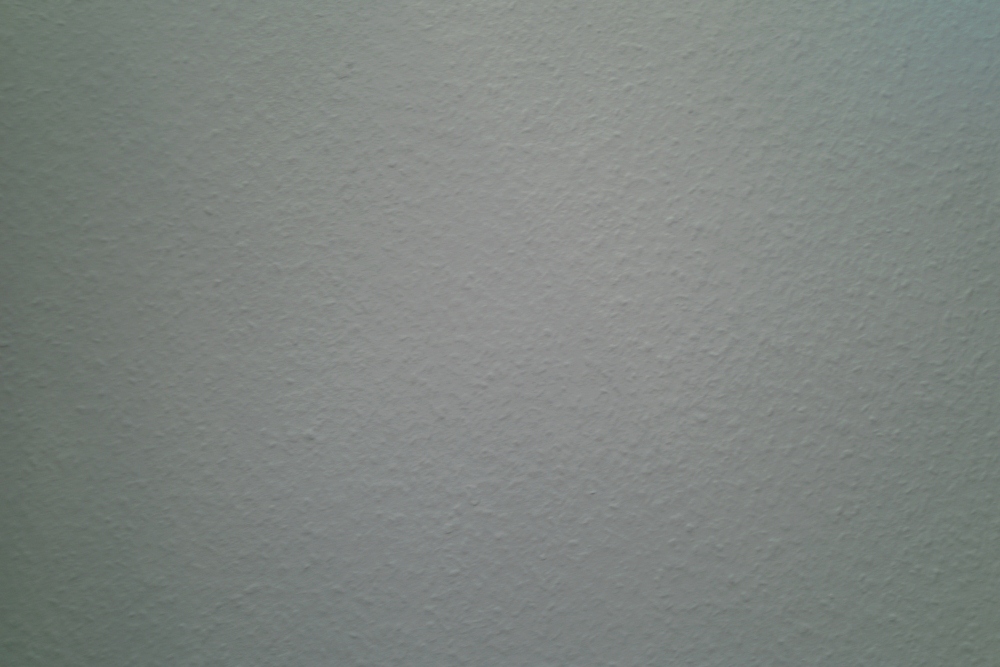
Leica M8 + Minolta M-Rokkor 28/2.8, lens recognized as v4 Elmarit 28mm pre-ASPH
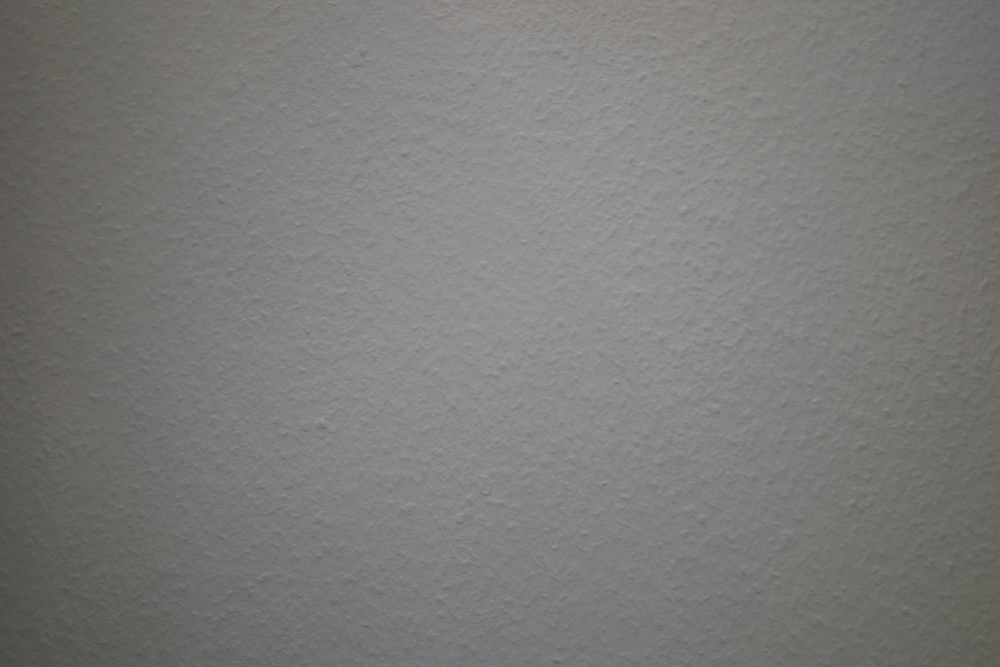
Leica M8 + M-Rokkor 28/2.8 @ f/2.8, lens recognized as v4 Elmarit 28 + UV/IR filter correction
You don’t need to be an expert to see the difference between pictures #1 and #3. #1 has a definite cyan colour cast in the corners, extending pretty far into the center of the image, whereas in #3 there is no such thing. This, for one thing, seems to work very nicely! But to be honest, I wouldn’t have noticed the colour cast in my real-life shots, had I not done this comparison.
The difference between pictures #1 and #2 is also visible — #2 has significantly less light falloff in the corners compared to #1. Strikingly, though, in picture #3, vignetting seems again to be more pronounced than in picture #2. It looks almost as if lens detection with UV/IR filter correction would only correct colour cast, wheres “simple” lens detection would correct vignetting. Or are my eyes playing a trick on me?
Anyways, the coding did work, and I find (now) that the difference between uncorrected and corrected is clearly visible, the uncorrected version showing a noticeable colour cast in the corners. But as I said, I didn’t see any of that in my real-life shots before, and probably won’t notice now that the lens is coded and the colour cast automatically corrected — except for the white balance being a tad more towards magenta, which I will correct in processing, anyways.
P.S.: I used this list of M lens codes as refernece.


Leave a Reply